
Kitchen Splashback Ideas on a Budget
Posted on
If you're looking for cheap kitchen splashbacks that are both stylish and functional, there are plenty of budget-friendly ways to refresh your kitchen. The kitchen splashback, or backsplash, is often the first area to show signs of wear, especially if you have white grout that discolours over time. Fortunately, updating your kitchen splashback on a budget doesn't mean compromising on style.
Updating your kitchen splashback to give it a new lease of life needn’t break the bank. Here are some affordable and DIY-friendly splashback ideas to transform your space without spending a fortune.
")
Grout Pen – A Quick Refresh
If you’re happy with your existing tiles and it’s just the grout that makes your splashback look outdated, a grout pen can be the perfect solution. These are inexpensive (around £4 per pen) and can completely refresh the look of your kitchen tiles by restoring grout lines to a bright, clean finish.
Why Choose a Grout Pen?
- Inexpensive and quick to apply
- Instant refresh for tired-looking tiles
- No mess or need for professional help
- Available in different colours to match your kitchen design
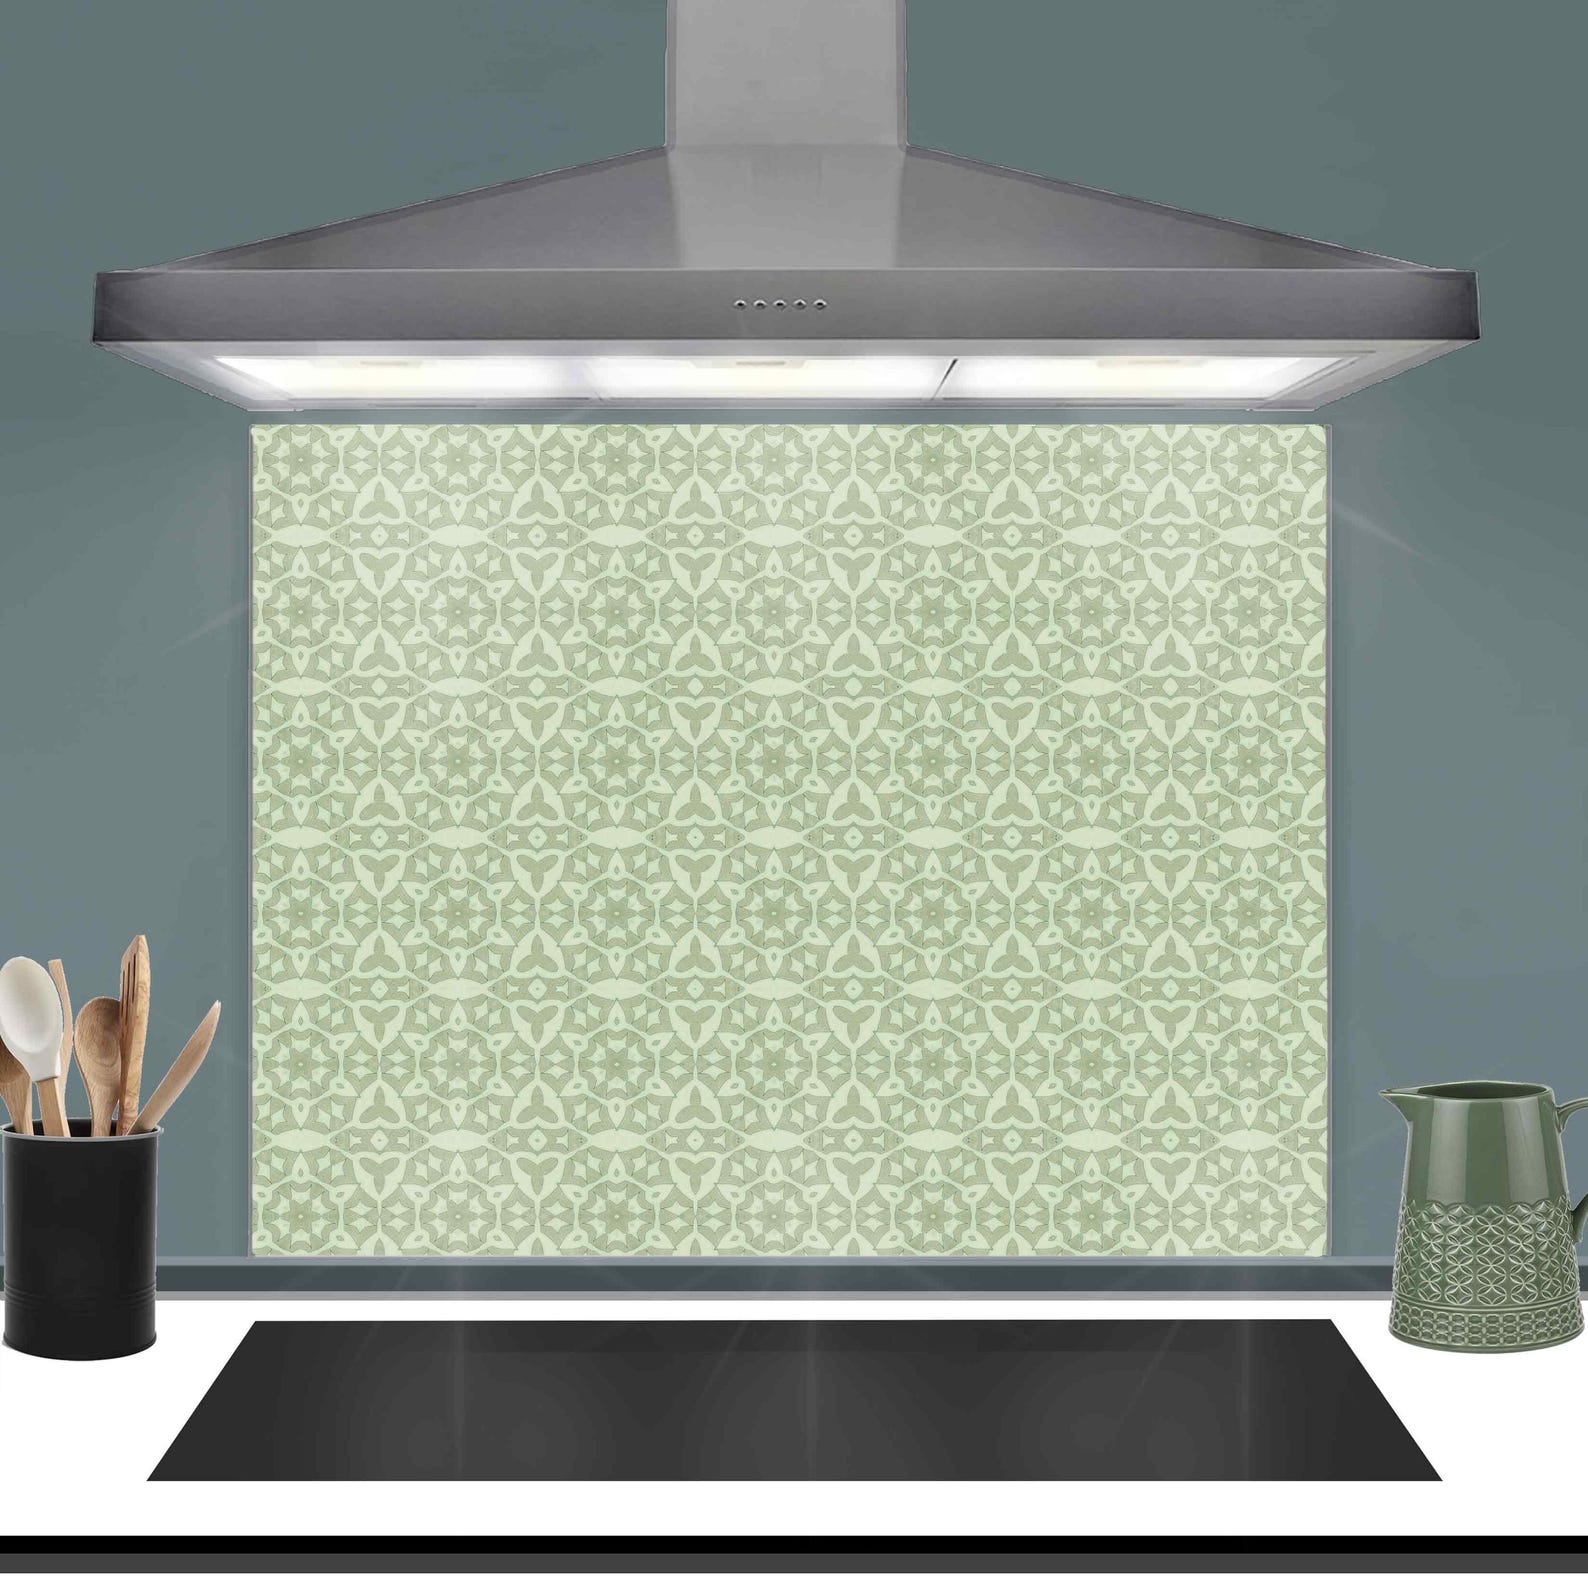
Green 'carved stonework' splashback, custom sized heat-proof toughened glass
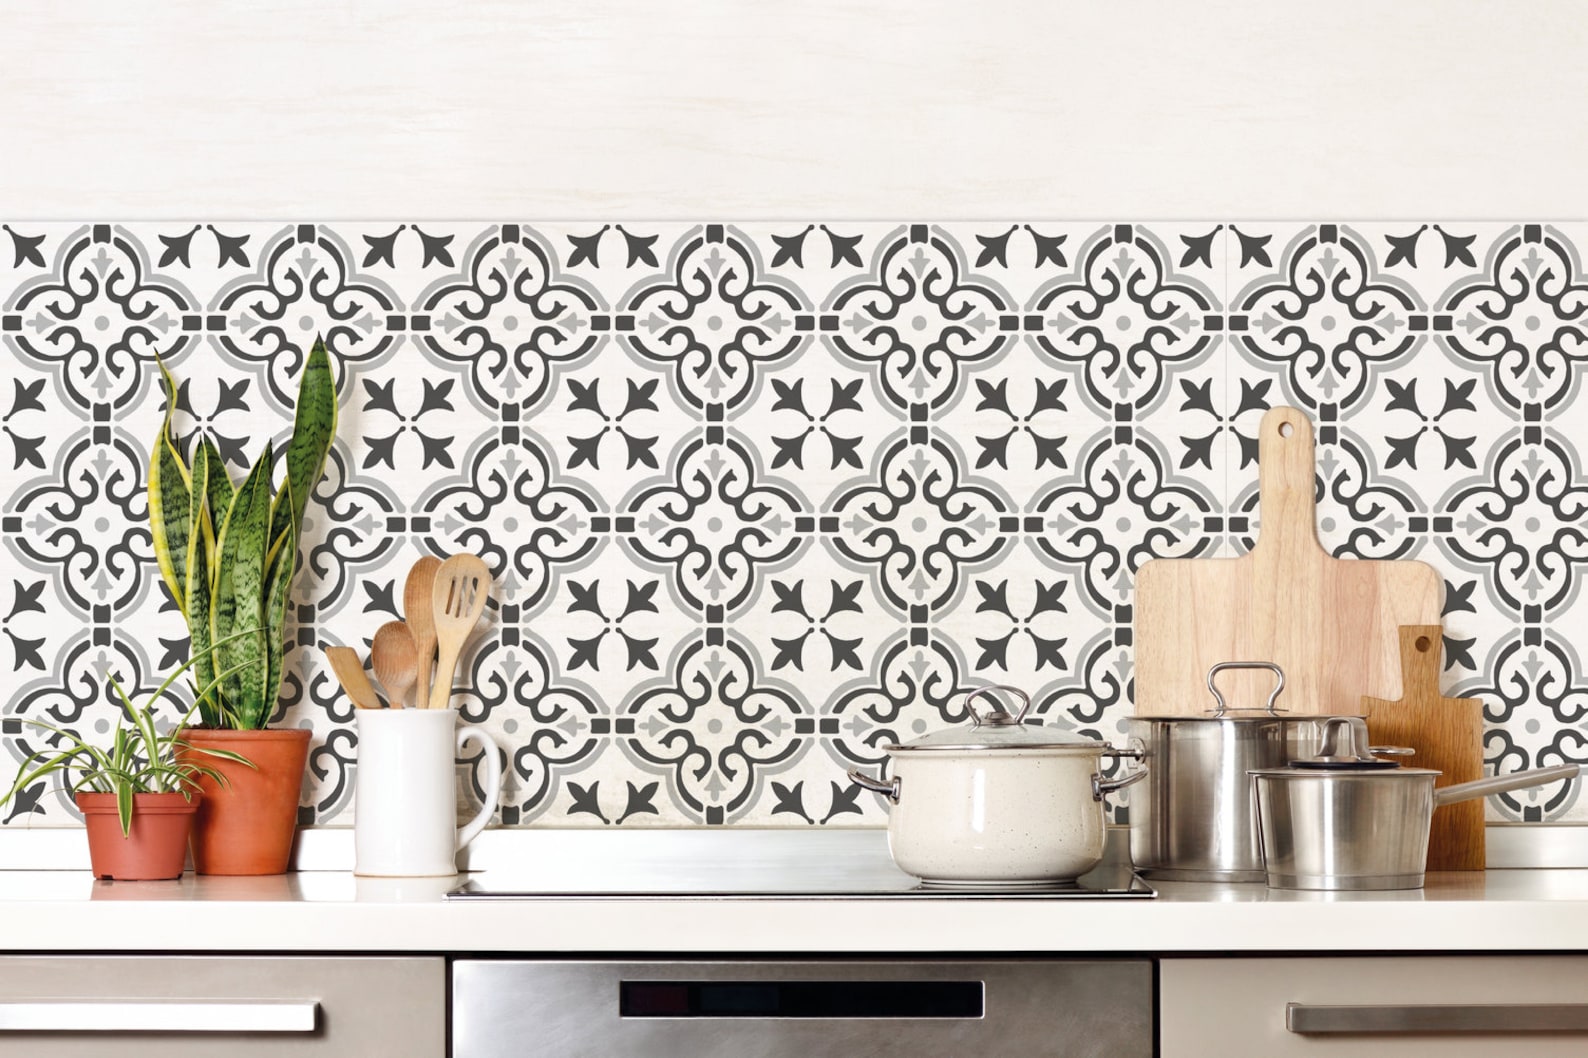
Vinyl Tile Stickers – A Removable Makeover
A cheaper option than replacing tiles is to cover them with vinyl tile stickers. These are inexpensive, leave no residue and will give the impression you’ve had the splashback newly tiled! If you are renting then this is a great option as you will be unable to replace the actual tiles yourself or without your landlords permission. These are perfect if you’re renting or simply want a temporary kitchen splashback solution.
You can even use whole sheets of vinyl wallpaper to create your own backsplash on a painted wall, or smaller geometric shaped vinyl stickers to create a pattern.
Key Benefits:
- Affordable alternative to re-tiling
- Easy to apply and remove
- Available in a variety of styles, from Moroccan to modern
- Can be used over existing tiles or directly on the wall
💡 Pro Tip: If you prefer a seamless look, consider using stick-on splashbacks that come in peel-and-stick sheets for easy application.
Tile Paint – A Cost-Effective Update
Tile paint is another budget-friendly option to refresh your splashback. Whether you want to modernise outdated tiles or experiment with bold colours, tile paint is a simple and effective way to achieve a brand-new look.
How to Use Tile Paint:
- Clean the tiles thoroughly.
- Lightly sand the surface for better paint adhesion.
- Apply a tile primer if needed.
- Use tile-specific paint for best results.
- Apply multiple thin coats for a durable finish.
💡 Pro Tip: Opt for waterproof tile paint to ensure your new splashback withstands kitchen splashes and heat.
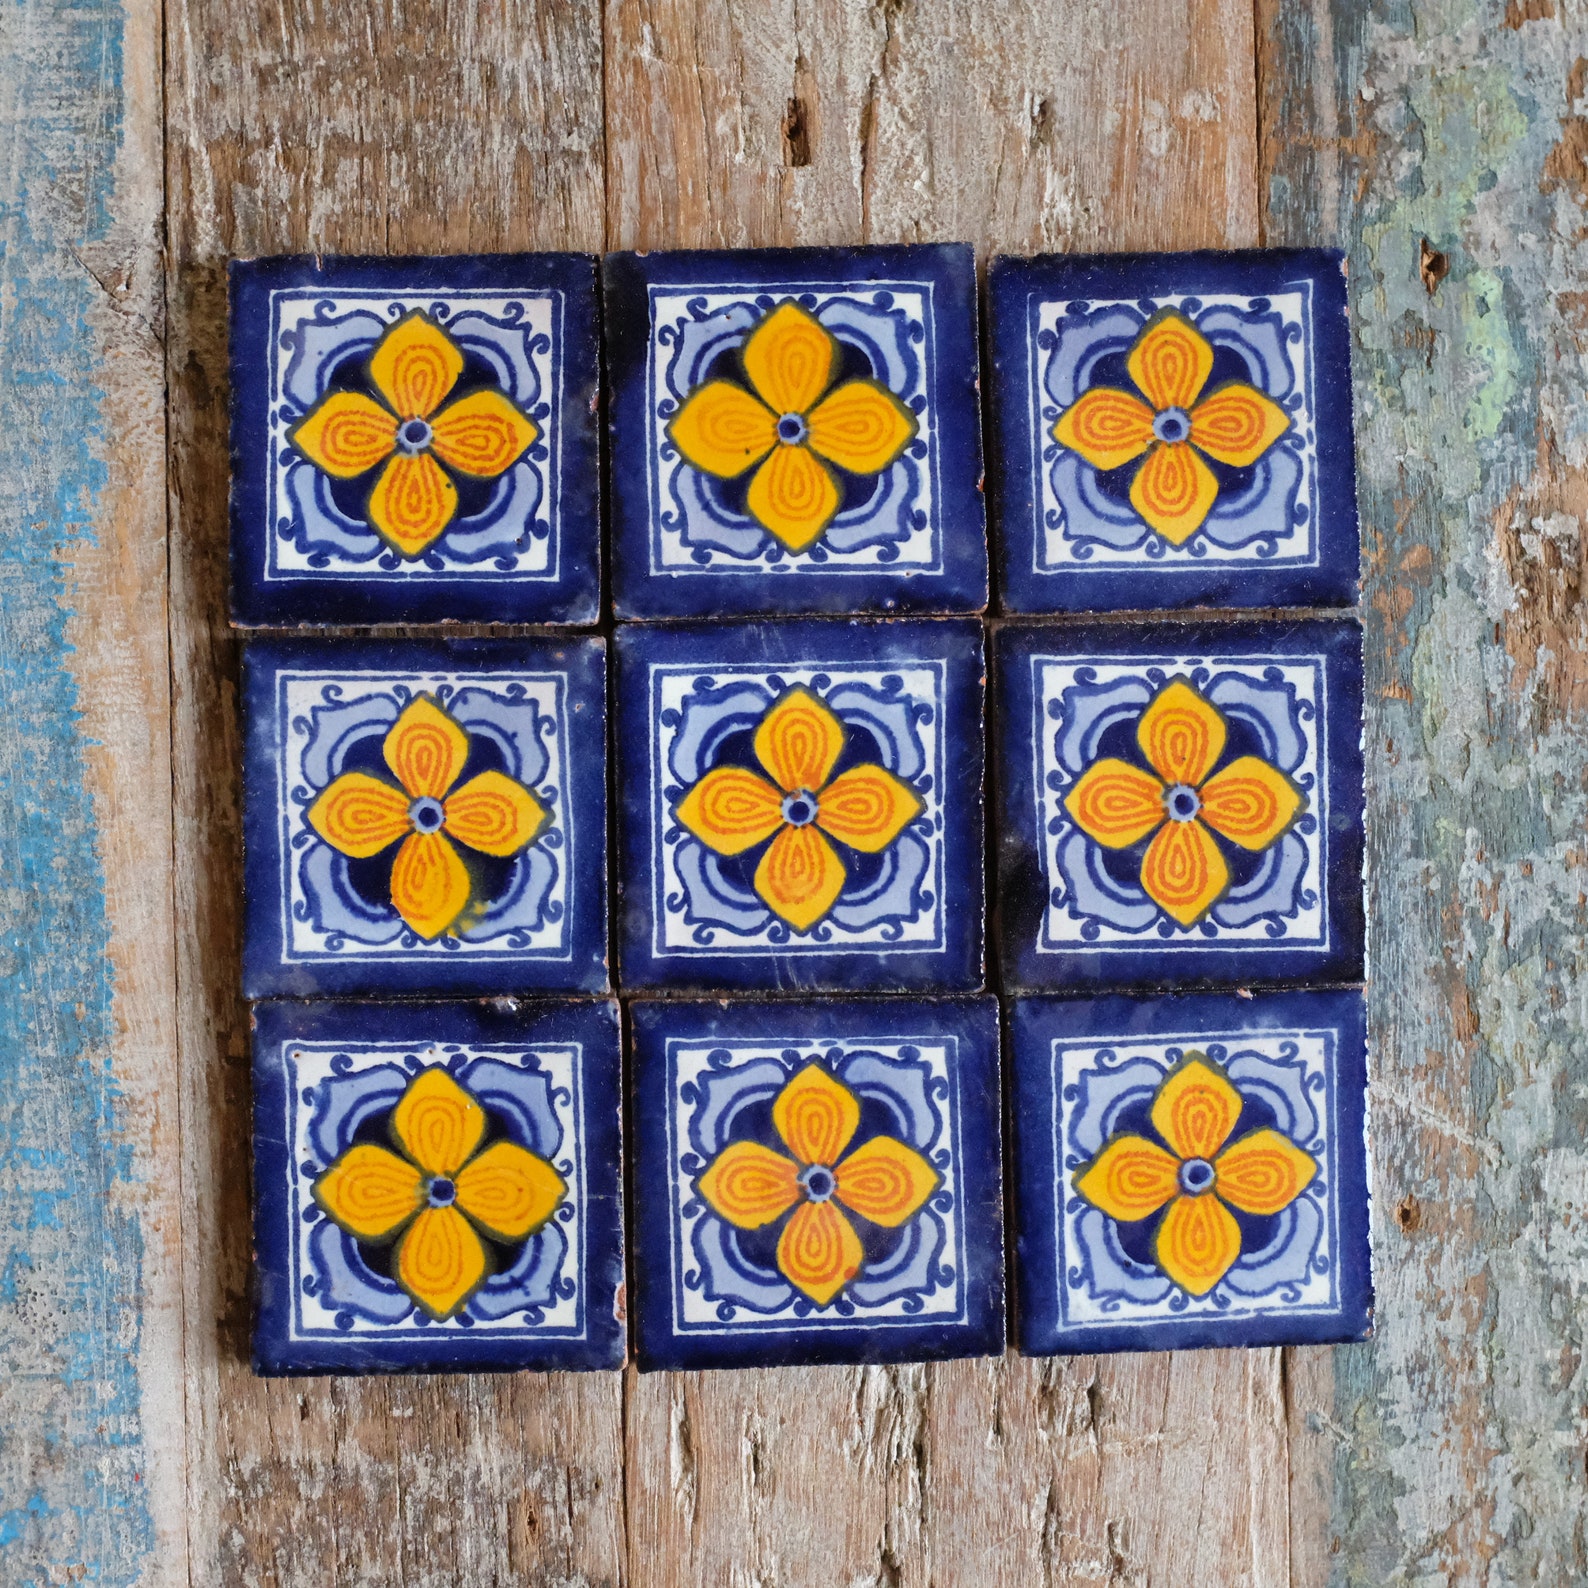
Mexican Tile Set of 9 SMALL Tiles
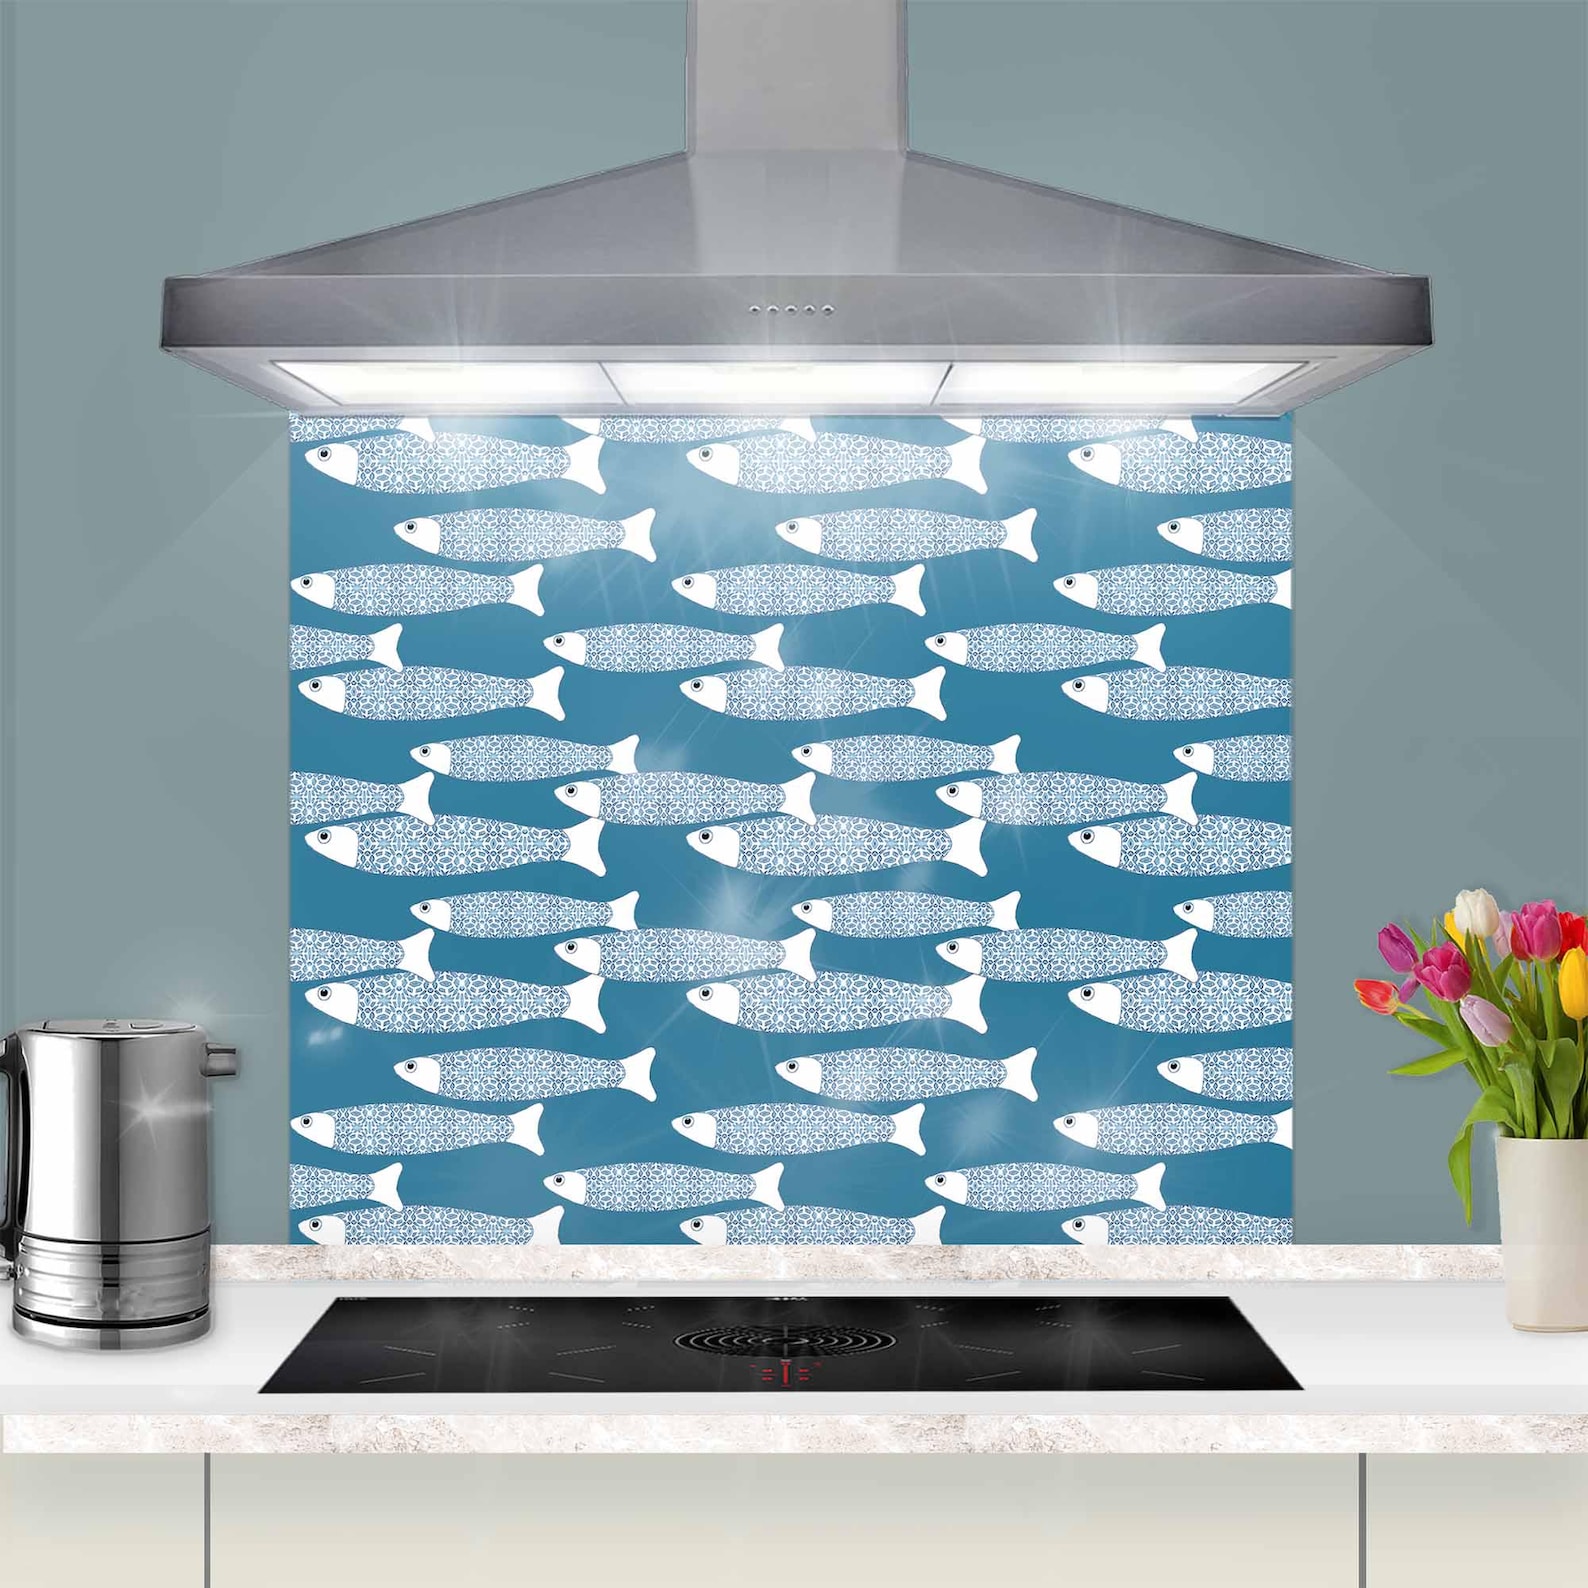
Glass Splashbacks – Affordable & Sleek
For a modern, easy-to-clean option, a glass splashback is a great investment. Unlike tiles, there’s no grout to discolour and maintain, and glass creates a seamless, high-end look. There are readymade glass splashbacks online for cheap, but you can spend a little extra to have a piece of glass cut to size and in the colour and finish of your choice.
💰 Budget-Friendly Options:
- Pre-cut glass splashback panels (available from just £10 online)
- Custom-cut glass for a perfect fit
- Frosted or coloured glass for a stylish upgrade
✨ Why Choose a Glass Splashback?
- Hygienic and easy to clean
- No risk of grout discolouration
- Reflects light, making small kitchens look larger
- Heat-resistant and durable
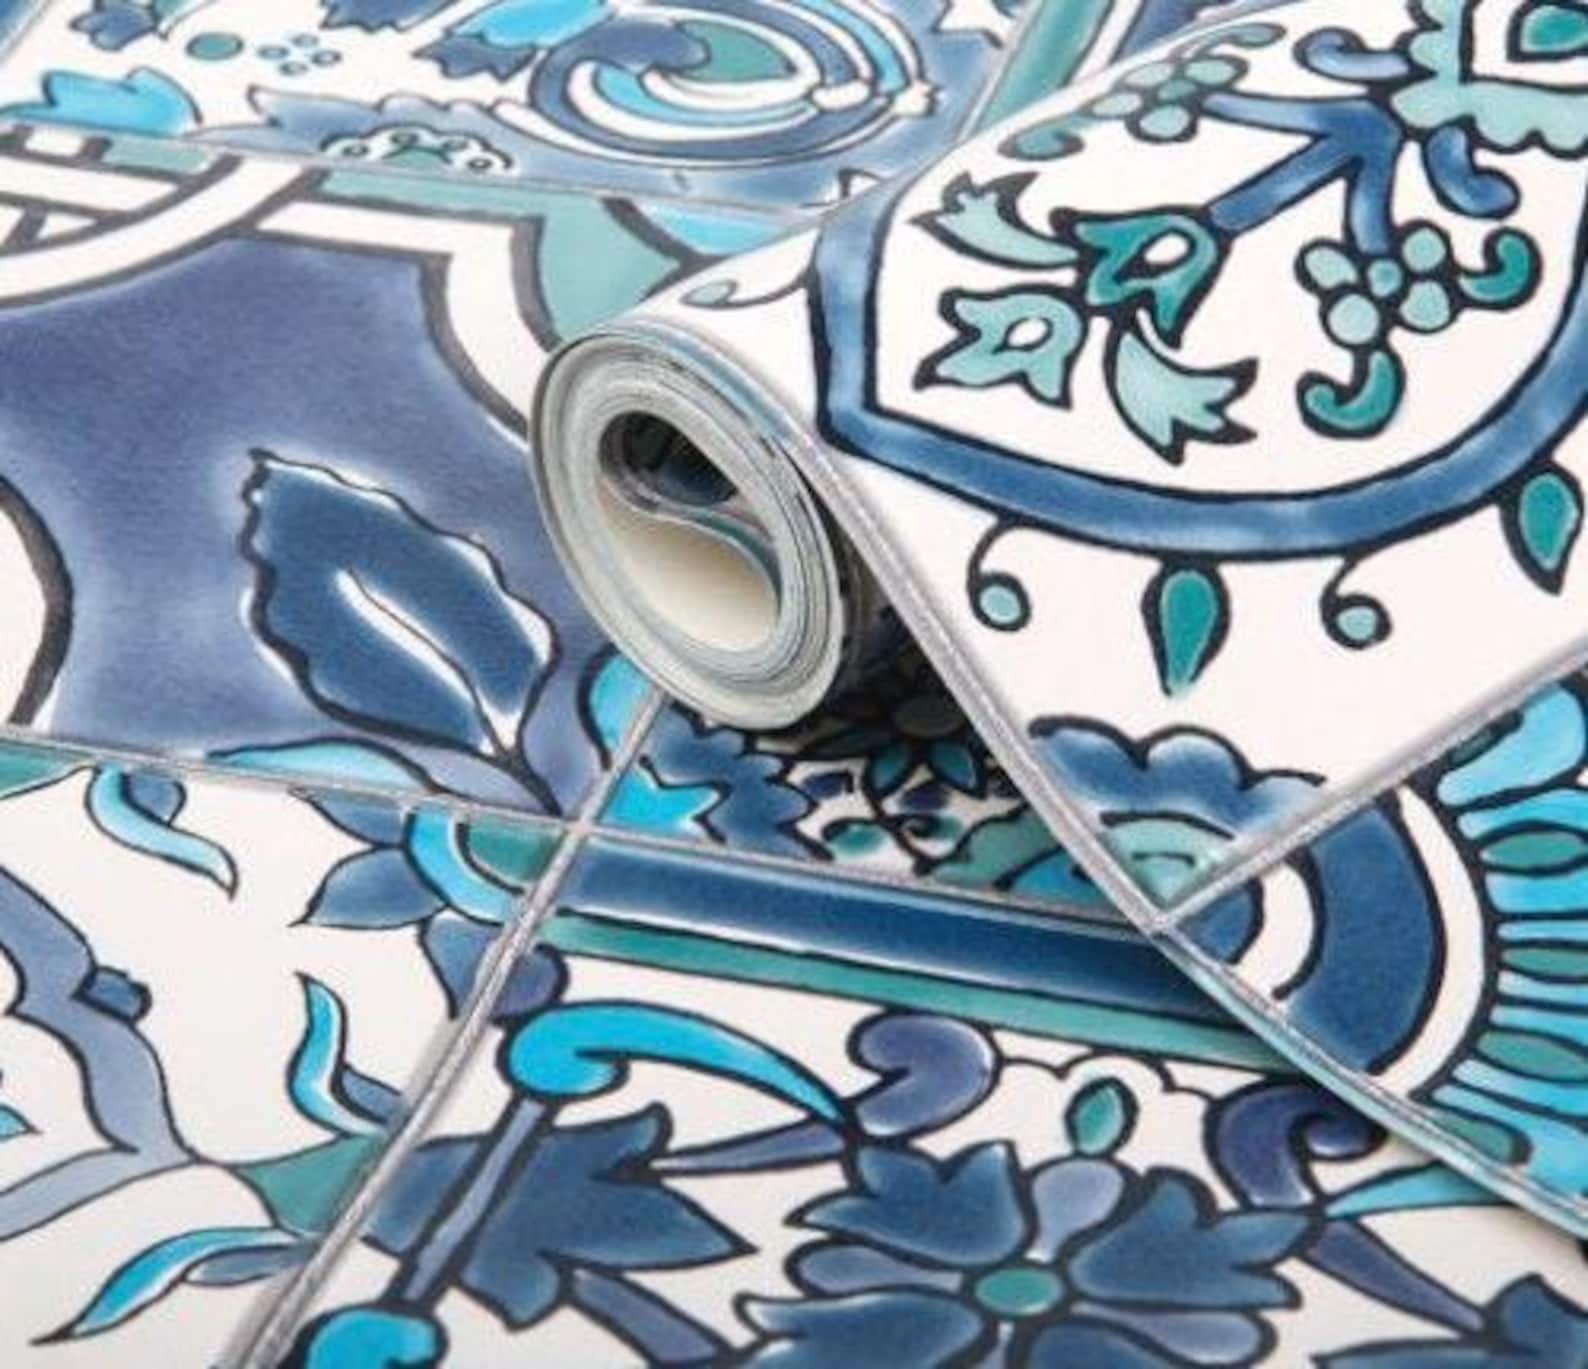
Waterproof wallpaper blue ceramics moroccan tile effect
DIY Wooden Splashbacks – Rustic & Eco-Friendly
For a budget kitchen makeover, consider using upcycled wood. Whether you repurpose pallet wood or install budget-friendly plywood panels, wooden splashbacks bring a natural and warm aesthetic to your kitchen. This is a great idea for a cheap splashback in a rustic style kitchen and to create an eco-friendly kitchen. You can also buy cheap planks of plywood that are ready to cut and assemble. The wood can also be painted any colour you like to match the rest of your kitchen if you don’t like the wood colour. Additionally, using wood can help protect your kitchen and countertops from splashes, stains, and moisture, making it both a practical and stylish option.
🔨 How to Create a DIY Wooden Splashback:
- Sand and stain old wooden planks for a rustic look
- Use plywood sheets for a smoother, uniform appearance
- Seal with waterproof varnish to protect from moisture and stains
💡 Pro Tip: If you love the idea of wood but want a modern twist, consider faux wood panels made from vinyl or laminate.
Stencil a Pattern for a Custom Design
If you have a painted kitchen wall and want a low-cost splashback, stencilling is a creative way to add character. Use a stencil and waterproof paint and mould resistant paint to create a unique backsplash without the need for tiles. Use a stencil to paint an amazing pattern on your splashback wall to create texture and interest
🎨 Why Choose a Stencilled Splashback?
- Totally customisable
- Budget-friendly alternative to wallpaper
- Easily repainted if you want to refresh the look
- No need for tiles, grout, or expensive materials
💡 Tip: For a long-lasting finish, apply a clear waterproof sealant over the paint. Otherwise you might need to update your splashback a little more regularly if you opt for paint only.
Peel-and-Stick Tile Sheets – Instant Tile Effect
If you love the look of real tiles but don’t want the mess or cost of installation, peel-and-stick tile sheets are a fantastic option. These give the effect of a tiled wall, but it’s much cheaper and easier! Peel and stick sheets of tiles will create a tile effect backsplash in minutes with minimal mess.
✅ Advantages of Peel-and-Stick Tiles:
- Look like real tiles without the expense
- Can be applied directly to walls (no need for existing tiles)
- Water-resistant and durable
- Available in a range of styles, from subway tiles to Moroccan patterns
💡 Pro Tip: Choose removable splashbacks if you're renting or want the flexibility to change styles later.
Kitchen Wall Art – A Unique & Creative Splashback Alternative
If you’re looking for a non-traditional kitchen splashback idea, consider hanging wall art above your kitchen countertops. Many homeowners overlook the kitchen as a space for décor, but a simple culinary-inspired print can transform the look and feel of your kitchen.
How to Use Kitchen Wall Art as a Splashback Alternative:
- Fill the empty wall space between your countertops and cabinets with framed prints.
- Choose art that matches your style—opt for rustic, vintage-inspired pieces for traditional homes or minimalist, industrial-style artwork for modern kitchens.
- Protect your artwork with a clear glass splashback—this maintains the art’s integrity while ensuring easy cleaning.
- Use removable wall decals for a budget-friendly, renter-friendly option.
- Incorporate kitchen-themed artwork, such as herb illustrations, vintage food posters, or abstract culinary designs.
By combining art and functionality, you can create a striking and personalised splashback that stands out from standard tile or glass options.
Alternative Splashback Ideas for a Unique Look
If you’re looking for unconventional splashback ideas, here are some alternative kitchen splashbacks to consider:
🪴 Greenery & Plant Walls: Use waterproof planters to create a mini herb garden backsplash.
🎭 Mirrored Splashbacks: Use mirrored panels to reflect light and make your kitchen appear larger and brighter.
🚀 Metal Sheets: Aluminium or stainless steel sheets offer a sleek, modern industrial vibe.
Waterproof wallpaper white black floral ceramics tile effect
How to Maintain a Cheap Kitchen Splashback
Once you’ve updated your kitchen splashback, keeping it looking fresh is essential. Here’s how to maintain your cheap splashback ideas and extend their lifespan:
🧼 General Cleaning Tips:
- Wipe surfaces regularly with a damp cloth to prevent stains.
- Use vinegar and baking soda to clean grout or glass splashbacks.
- Avoid abrasive cleaners that can damage peel-and-stick tiles or painted surfaces.
🔧 Long-Term Maintenance:
- Seal wood splashbacks with a protective finish.
- Repaint or reapply tile stickers as needed to refresh the look.
- Check adhesive splashbacks periodically to ensure they remain securely attached.
Final Thoughts on Budget-Friendly Kitchen Splashbacks
With so many affordable splashback ideas, giving your kitchen a stylish update doesn’t have to be expensive. Whether you refresh existing tiles, use removable options, or get creative with DIY projects, there are plenty of cost-effective ways to transform your kitchen.
💡 Which option will you choose? Whether you go for tile stickers, glass panels, or peel-and-stick splashbacks, updating your kitchen splashback can be quick, budget-friendly, and easy!
More home improvement blog posts to read next:
- Save money on your loft conversion
- Bathroom goals: a little luxury and a little budget
- Wood flooring on a budget
- Quick summer updates for the home and garden on a budget
- The best improvements you can make to add value to your home
- How we updated our staircase for under £100
Please pin you your Pinterest boards for later:
